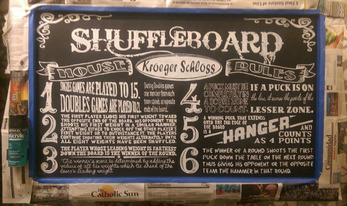
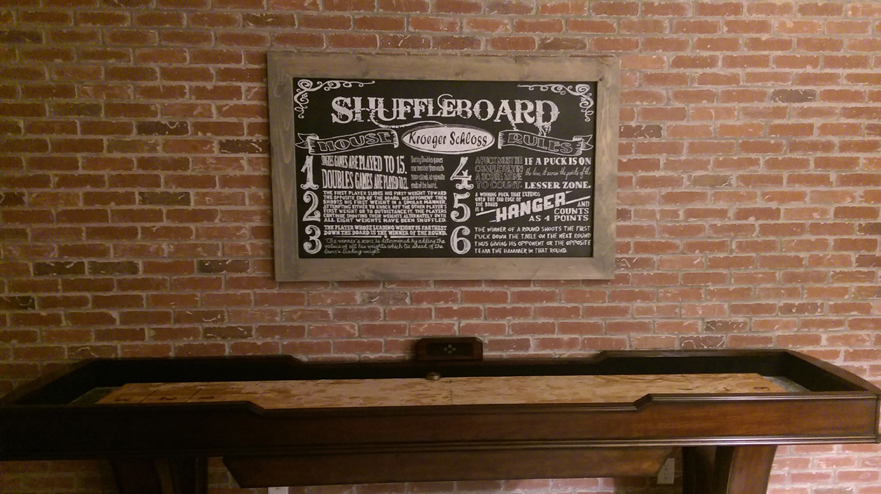
We got a shuffleboard table for Christmas last year and we love it! We immediately set it up and invited everyone over to play. What we quickly discovered, however, is that shuffleboard is very similar to pool, or darts, or cornhole, or any of a number of other games. What possible similarity could exist between all these games? Simple, with all these games, each bar, or backyard, or locale has their own slightly different set of rules. Shuffleboard is no different. And, now that we have shuffleboard at our house, we needed to establish our house rules!
We decided that a cool, funky, graphically-interesting chalkboard with our chosen rules would be the way to go. We'd hang it on the wall over the table and the result would be the bee's knees! So, in mid-May I embarked on creating our perfect custom house rules chalkboard. In mid-October I finished. Follow the simple steps below to make your own:
We decided that a cool, funky, graphically-interesting chalkboard with our chosen rules would be the way to go. We'd hang it on the wall over the table and the result would be the bee's knees! So, in mid-May I embarked on creating our perfect custom house rules chalkboard. In mid-October I finished. Follow the simple steps below to make your own:
STEP 1: Select your chalkboard
This was easy enough. We found a weathered-wood chalkboard from someone on Etsy. When it arrived, my suspicions were confirmed: I easily could have made this myself with some backer-board, chalkboard paint, and an old wood pallet. I would later find out that the total scope of work involved meant that it was probably a good thing that I took the easy way out on this step.
This was easy enough. We found a weathered-wood chalkboard from someone on Etsy. When it arrived, my suspicions were confirmed: I easily could have made this myself with some backer-board, chalkboard paint, and an old wood pallet. I would later find out that the total scope of work involved meant that it was probably a good thing that I took the easy way out on this step.
STEP 2: Create your design/ layout
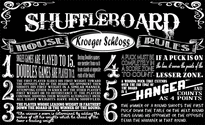
This step was a lot of fun for me. I integrated the Kroeger Schloss logo along with a variety of fonts that I sourced from across the internet. Finding a set of rules that would work was easy. Distilling them down to the minimum number of characters (so as to minimize my work!) was a bit more difficult. In the end, the rules and their phrasing came out great and I really think the overall design and layout has the look we were after as well.
This step was a lot of fun for me. I integrated the Kroeger Schloss logo along with a variety of fonts that I sourced from across the internet. Finding a set of rules that would work was easy. Distilling them down to the minimum number of characters (so as to minimize my work!) was a bit more difficult. In the end, the rules and their phrasing came out great and I really think the overall design and layout has the look we were after as well.
| | STEP 3: Transfer the outline of your design to the chalkboard Let the tedium begin! Each picture here represents an hour or two of work. I procured a meeting projector from the office and used it to project my final design from my computer onto the chalkboard. The challenge here was that I knew I wouldn't be able to finish the outline in one sitting (I didn't, however, know it would take closer to 8 hours!). However, I needed to set everything up in a place where I could leave it until I was done. Otherwise, the design would get wonky because it's size and orientation would change drastically as a result of tiny differences in the angle the chalkboard was sitting at or how far away from the projector it was. |
| | STEP 4: Fill in the outline Let the tedium continue! Each picture still represents an hour or two of work. Thankfully, I no longer needed the projector, so I would work on this step during the evenings on the couch with the TV and/or family there to keep me company. During the outline phase, I had quickly learned that traditional chalk wouldn't work - there was no way to keep a point long enough for any of the details in the various fonts. Instead of traditional chalk, I bought a two-pack of white charcoal pencils from Michael's Craft Store. Before all was said and done, I went through 4 two-packs: 8 pencils in all. The other tip I have to share here is one I learned from the internet: dip your pencil or chalk in water to create a solid fill. This also brightens up the final result. |
| STEP 5: Lock it in! Let's be honest - the chalkboard look is more about aesthetics than function. At least for me it is... After spending over 20 hours carefully transferring the design to the chalkboard and filling it in, I don't need the ability to erase it and add something else, thank you very much. At the same time, the matte look of the finished product is part of the overall look I was going for. The solution was a few thin coats of spray on matte finish polyurethane... after masking off the wood frame, of course. |
